This page delivers a clear overview of how to navigate plan review from start to finish. Learn how to submit plans, ensure required documents are complete, manage corrections efficiently, and track your project’s progress— all to help you keep timelines on schedule and approvals on track.
STEP BY STEP GUIDE
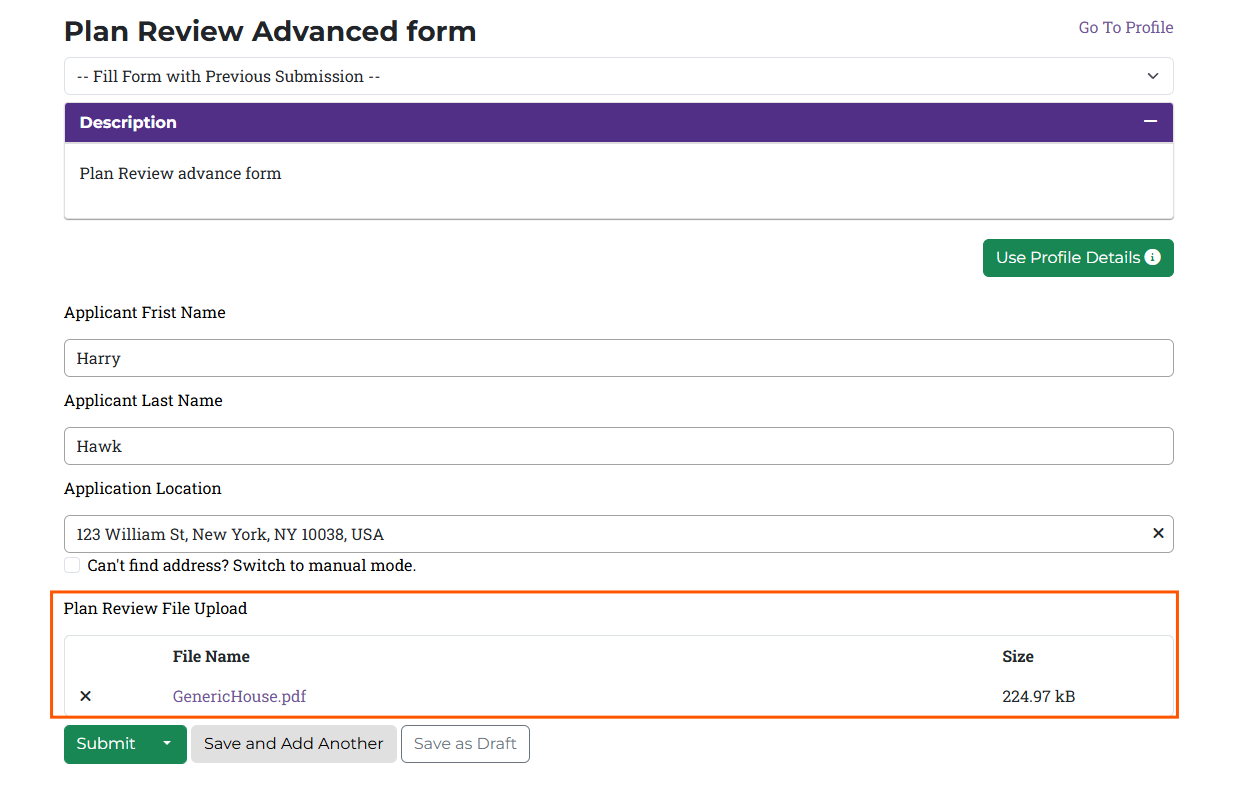
Step 1: How to Upload the Document:
When user tries to complete the form, they will see a section where Plan Review Document can be uploaded. (NOTE- Non-PDF and Password-Protected PDFs Will Be Declined)
Step 2: View Corrections Required Notification:
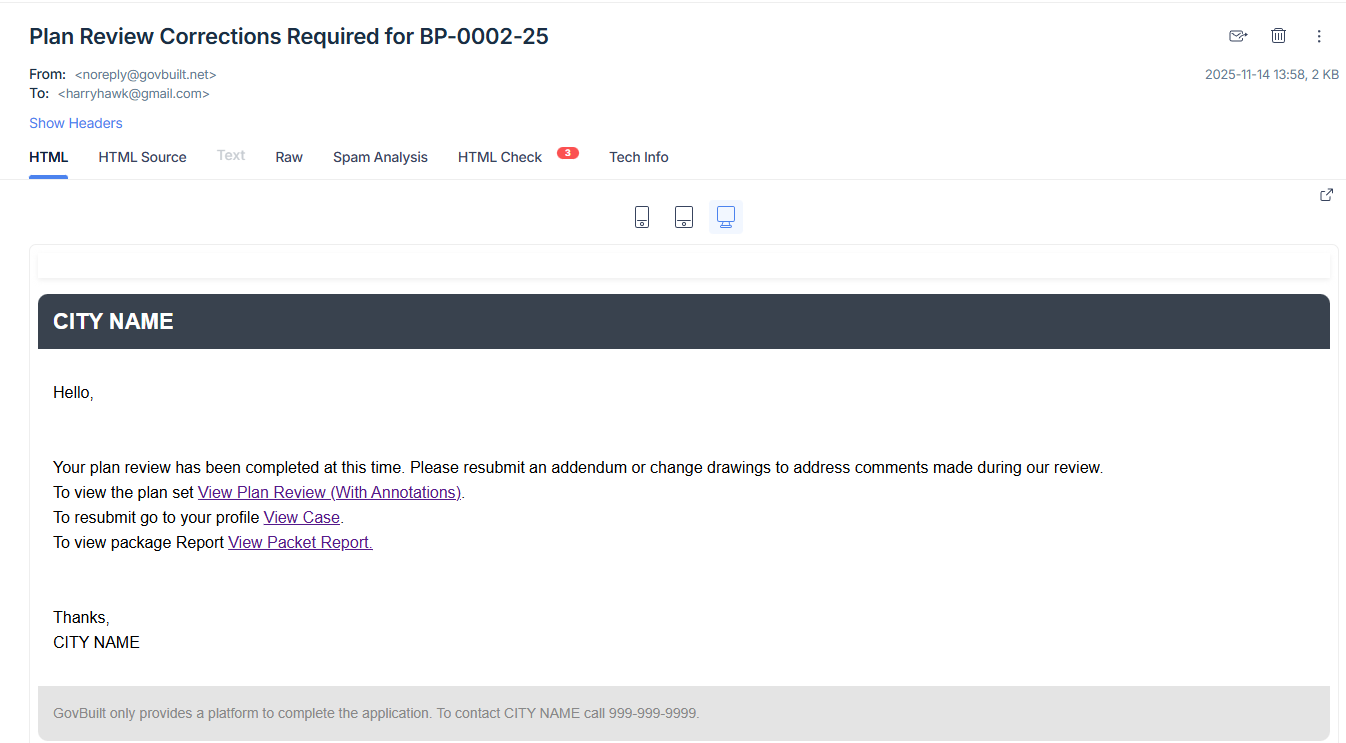
Once the document is uploaded and submitted, it will be assigned for review to an Inspector. If the reviewer finds any issue in the submitted plan then they will put the Document under "Corrections required" category and you will receive a Corrections Required email which will look like the below one-
How “Corrections Required” Email look like:
Communicate Online Instead of Waiting in Lines
Step 3: Review Comments/ Corrections Suggested by Inspector:
You can view these comments from the reviewer directly through the Email received/By Viewing the Case -
1: Review Corrections Requested through Email:
In the previous step, you were briefed about how “Corrections required” email will look like. In the same email body you will see three options
A link to View Plan Review(With Annotations). This shows your plan with reviewer comments and mark-ups.
A link to View Case, This takes you to the case page where you can upload a corrected version.
A link to View Packet Report, which opens the package report and allows the user to download it.
2: Review Corrections Requested through View Case Screen
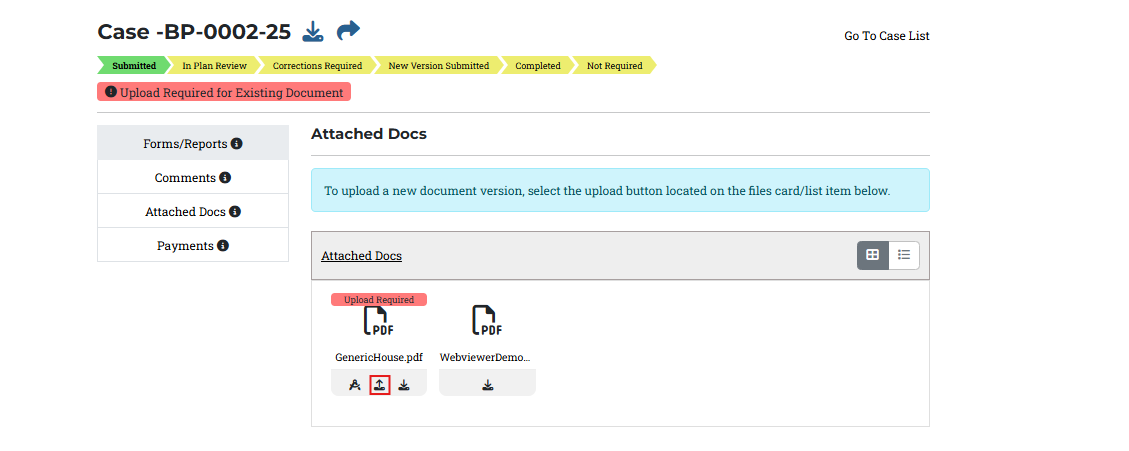
When you land on the View Case screen, a message stating that your plan review is completed but corrections are required will appear.
If you click on the View PDF button as per the below image, you will be redirected to the Plan Review Viewer. Refer-
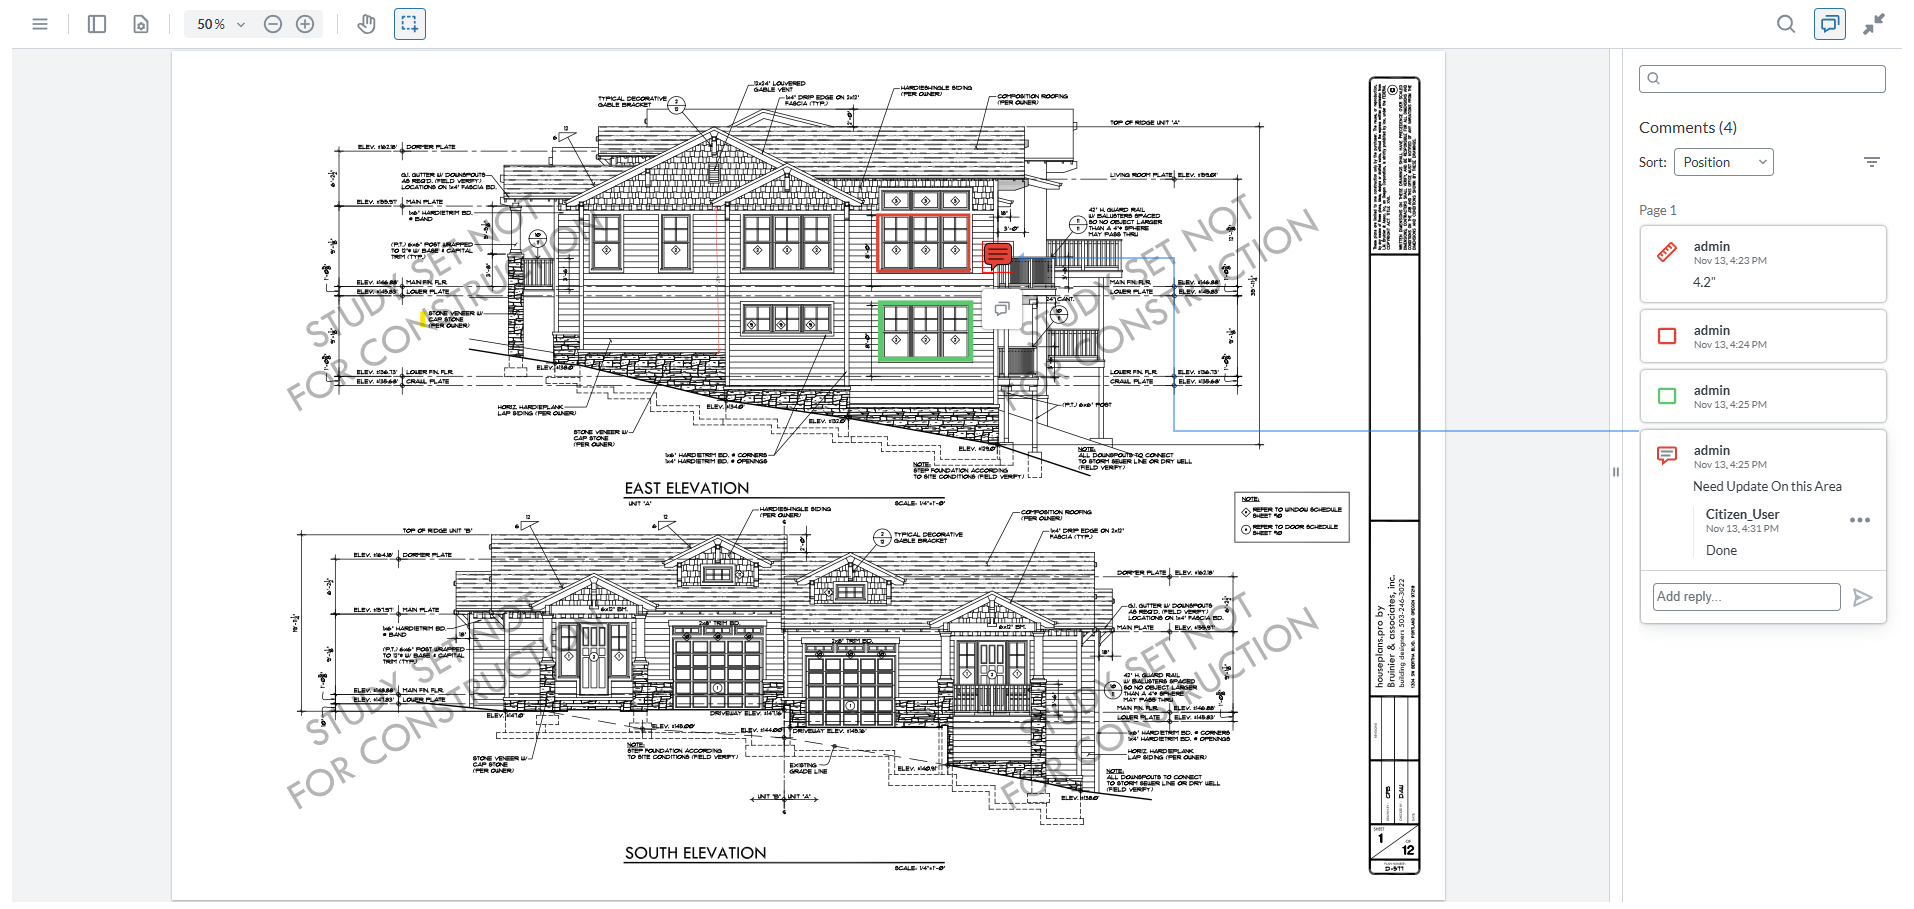
In the Plan Review Viewer screen you can see what changes must be made in your revised plan:
View all redline comments and markup from the reviewer.
Select annotations to see comment details.
Respond to comments in the Add Reply box.
Step 4: Upload a New Version:
After reviewing all the comments, you are ready to upload your corrected plan following below steps-
Steps:
Go to the View Case page.
Open the Attached Docs tab.
Find your plan file with the Upload Required tag.
Click the Upload Icon under the document.
Attach the updated/corrected version of your plan.
Once uploaded:
The reviewer will be notified.
The Plan Review process will continue with the new version.
Step 5: Plan Review Approved:
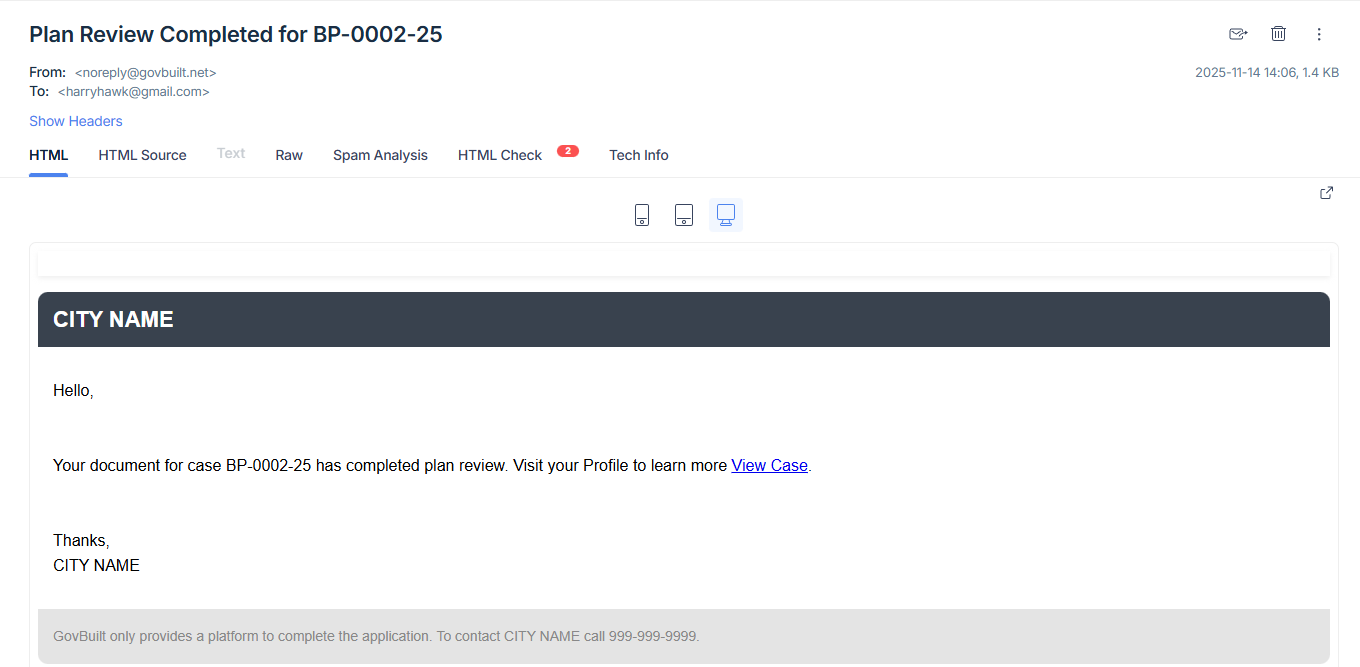
Inspector/ Reviewer will again review the document and if the document is approved, you will receive an automated Plan Review Completed email. This email confirms that your plan review is finished and no further corrections are required.
How Document Approved E-Mail Look Like:
In Text format it will include:
A confirmation message that your plan review is complete.
A link to View Case, where you can see the final status and documents.